
Article: Cleaning 101: How to Deep-Clean Your Kitchen

Cleaning 101: How to Deep-Clean Your Kitchen
The kitchen might be the heart of every home, but grime and messes pile up fast, so a regular deep clean is essential for every busy household.
If you’re looking for the best way to clean a kitchen, check out our step-by-step cleaning guide. From non-abrasive kitchen surface cleaners to expert advice, Puracy has got you covered.
Prepare Your Cleaning Checklist

Every deep clean should start with a plan, and we’ve got you covered with an extensive checklist that will help you clean your kitchen from top to bottom.
Deep Clean Kitchen Checklist
- Dusting and Organizing
- Cabinets
- Drawers
- Light Fixtures
- Walls
- Vacuum and Dust
- Wash with Multi-Surface Cleaner
- Windows
- Wipe and Dust
- Clean with Multi-Surface Cleaner
- Refrigerator
- Empty and Organize
- Defrost Freezer
- Clean with Multi-Surface Cleaner
- Oven and Stovetop
- Wash racks with Multi-Surface Cleaner
- Scrub metal coils with old toothbrush
- Countertops
- Wipe with Multi-Surface Cleaner
- Clean small appliances and containers
- Sink
- Scrub stains with Multi-Purpose Cleaner
- Dry fixtures with Microfiber Towel
- Dishwasher
- Clean filter with old toothbrush and Dish Soap
- Run one cycle with white vinegar and hot water
- Floor
- Clean with microfiber mop
Getting Started: The 8 Kitchen Cleaning Tools You Need

Because the following cleaning supplies work on a variety of surfaces and rooms around your home, you don’t need to invest in expensive products designed for specific uses.
Pro Tip: For ease of use, keep these natural cleaning staples in a cleaning caddy.
1. Old Toothbrush
This underrated tool comes in handy for getting dirt out of small spaces like grout lines, sink fixtures, and other hard-to-reach spots.
2. Scrub Brushes
A variety of kitchen scrub brushes ensures that you’ll be able to get any food residue out of pots and pans.
3. Microfiber Duster
We like this microfiber duster for its washable microfiber pads and extendable wand for reaching high spaces.
4. Microfiber Mop
Microfiber mops are highly absorbent, gentle on all surfaces, and cut down on the waste that disposable pads create. This one comes with a bucket for added convenience.
5. Microfiber Towel
The Puracy Edgeless Microfiber Towel is, hands-down, one of the most versatile cleaning tools out there. Not only does this product hold 7x its weight in water, its lint-free fabric traps and removes stains and grime from every kitchen surface.
6. Natural Multi-Surface Cleaner
Choose a plant-based multi-tasker that’s safe for every household surface (including glass, marble, countertops, and electronics). Our Multi-Surface Cleaner can deep clean kitchen countertops, wipe down windows, or act as a floor cleaner – with zero streaks and residue.
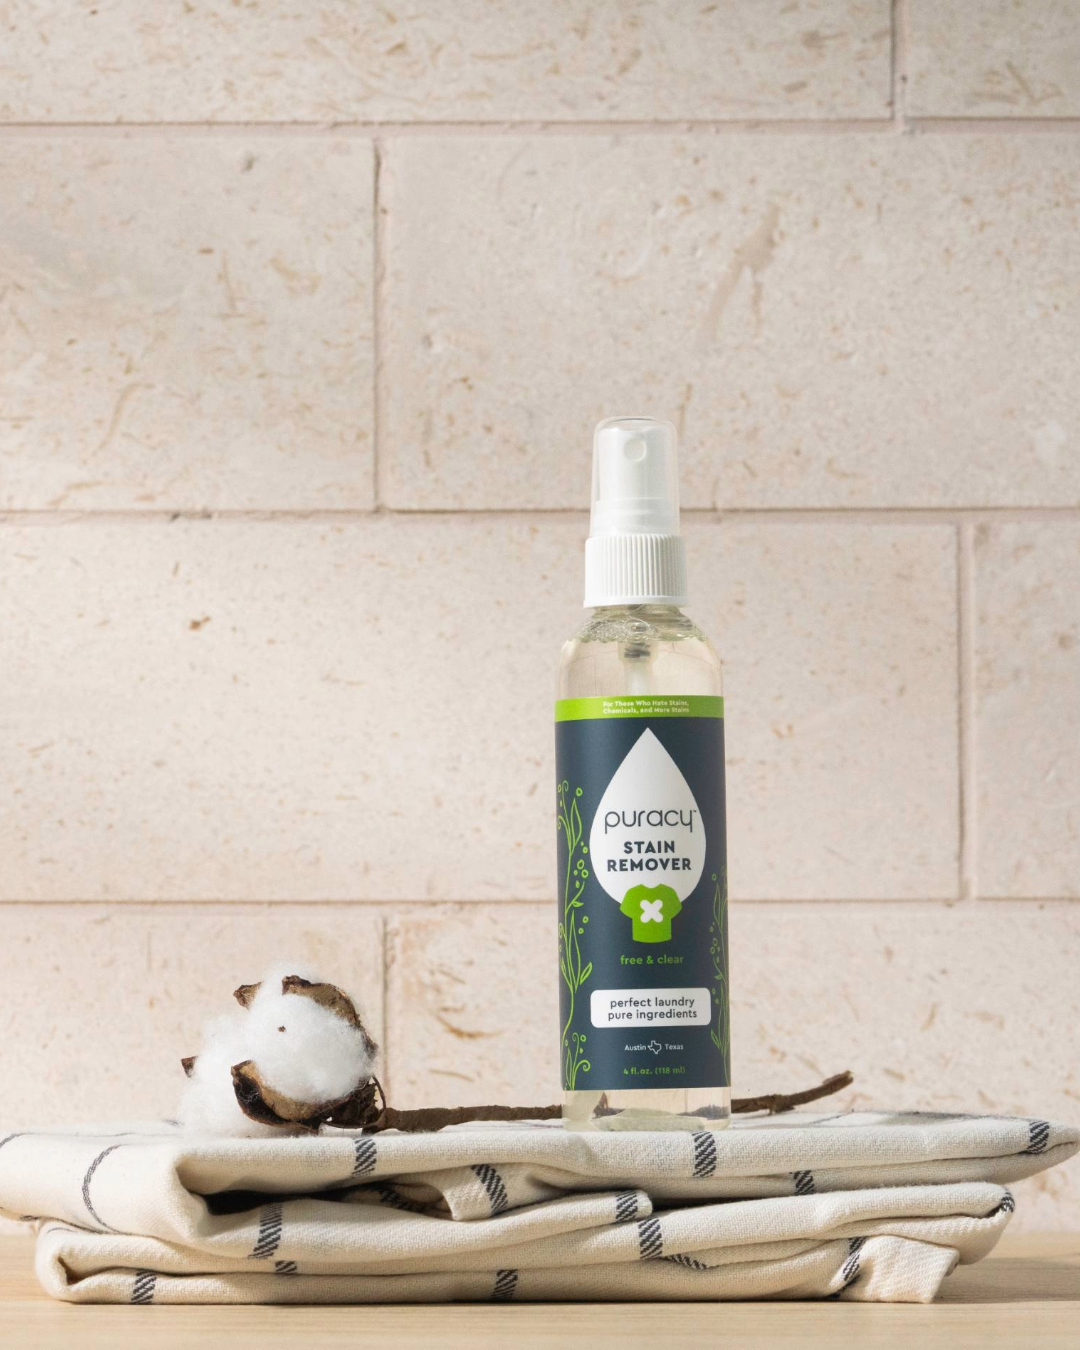
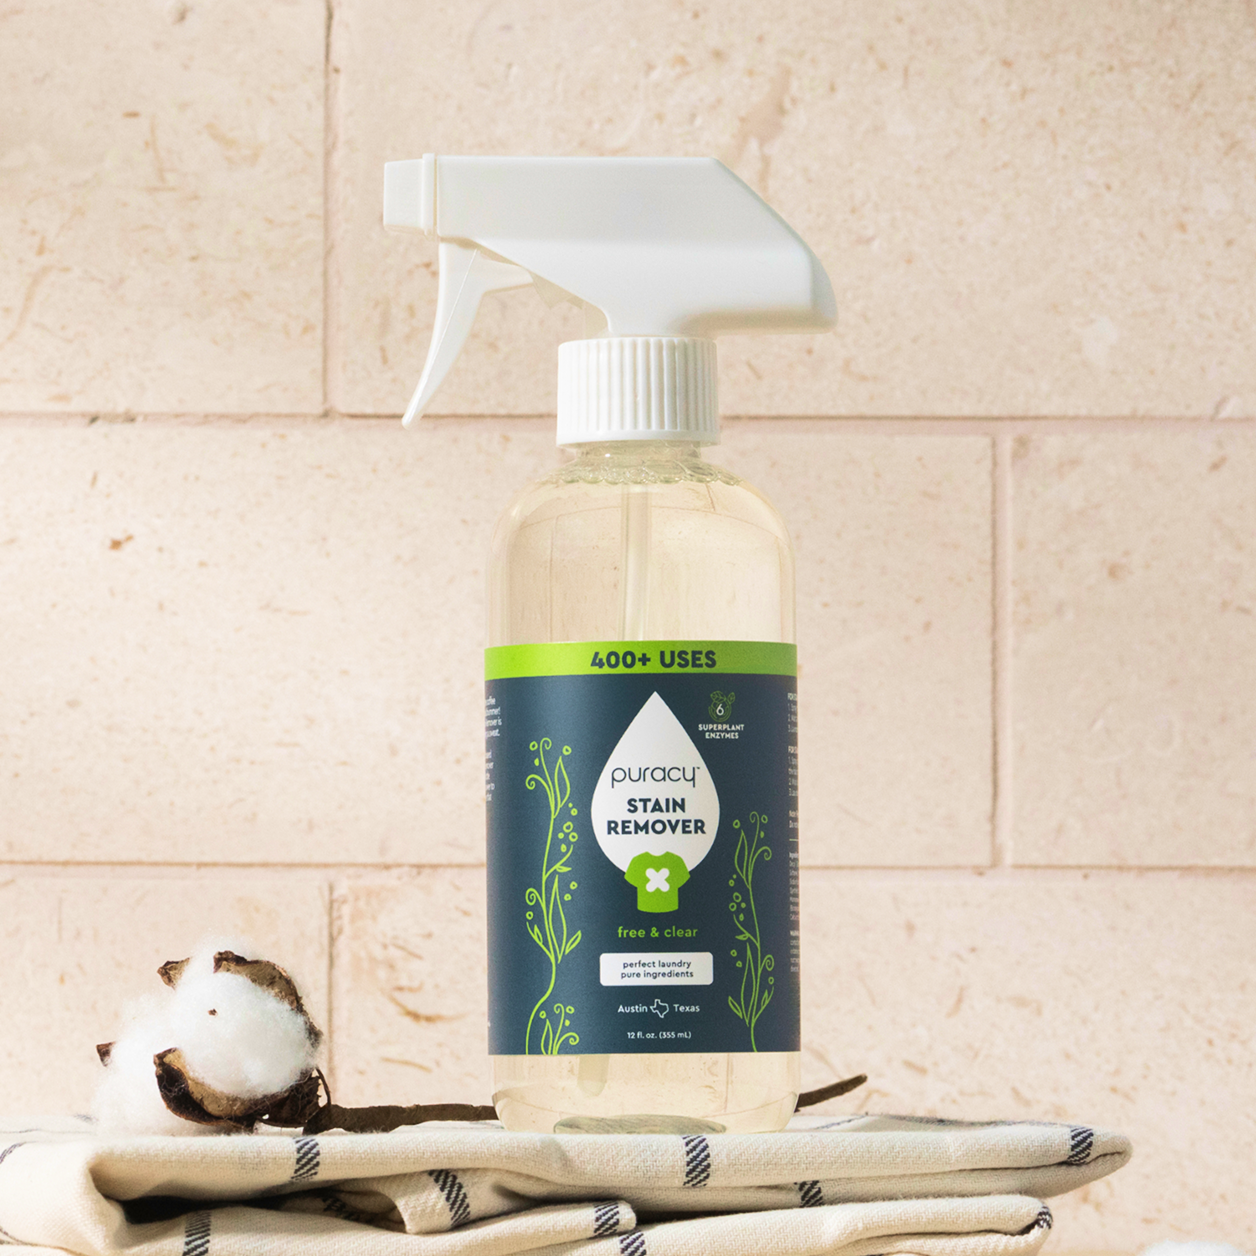
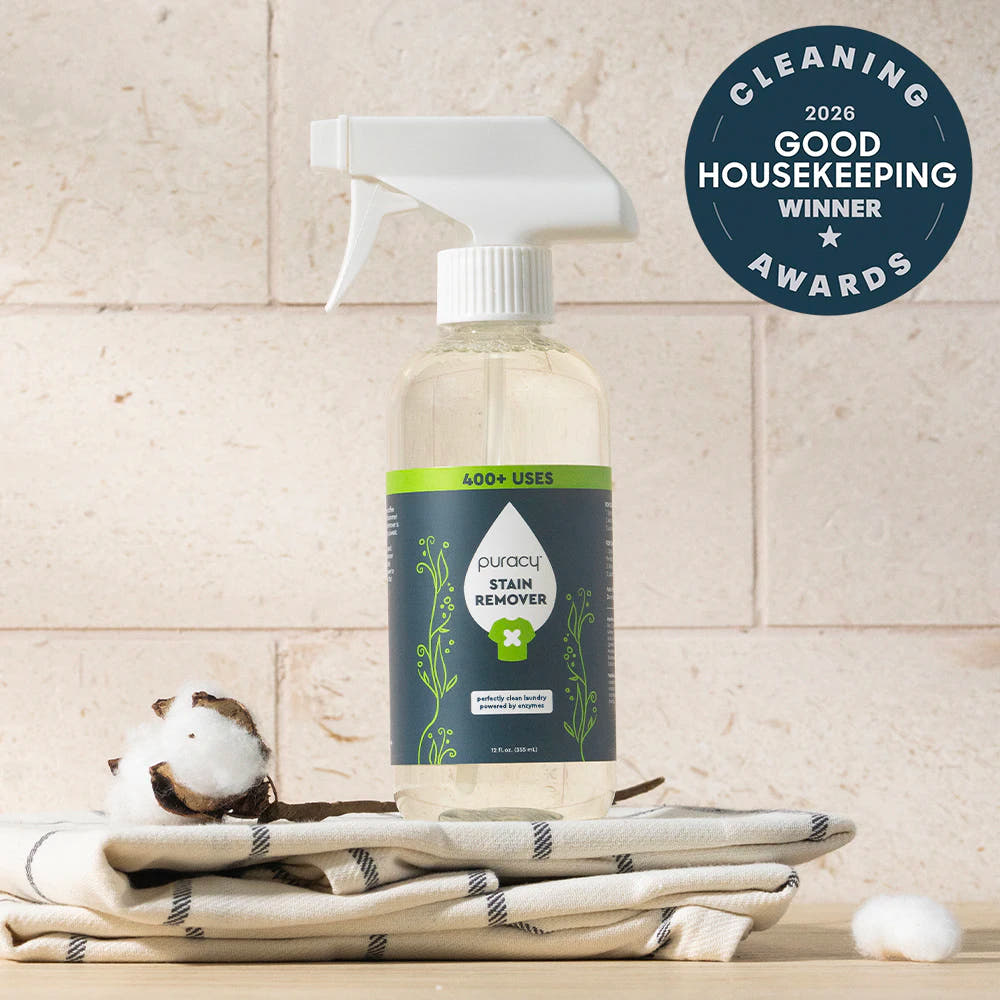
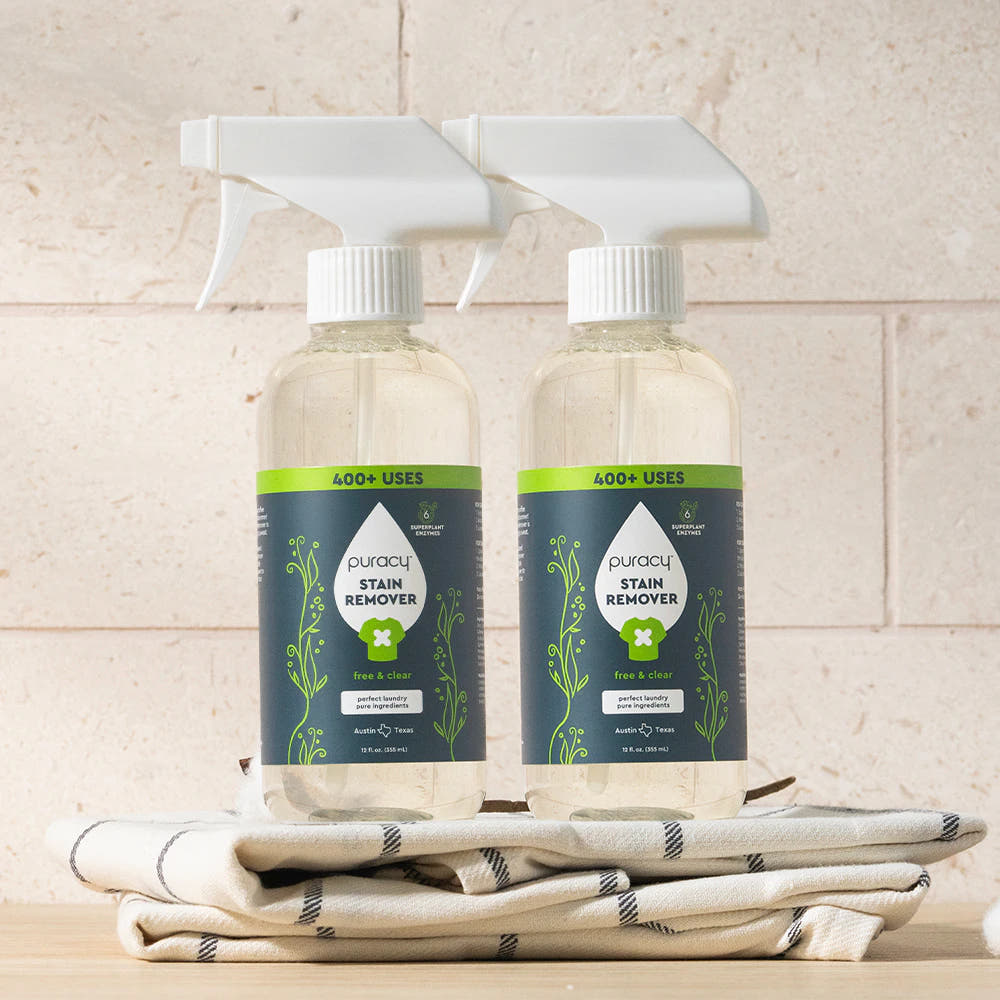
7. Natural Stain Remover
The most effective Natural Stain Remover anywhere, this product eradicates unsightly spills and odors on kitchen curtains, rugs, and dish towels.
8. Disinfecting Surface Cleaner
Sanitizing and disinfecting products only work effectively once surfaces are cleaned. That’s why we’ve created а Disinfecting Surface Cleaner that does both: Tackle grime and grease and then kill 99.9+% of germs.
Should I Use Kitchen Sponges to Clean?
In many households, sponges do the bulk of the messy kitchen cleaning. Microwaving kitchen sponges isn’t the easy fix that many blogs would have you believe. In fact, most experts say that there’s really no way to disinfect a kitchen sponge.
To keep your kitchen hygienic, throw sponges away if they smell, replace them every week, and keep them dry when they’re not in use (since moisture encourages bacterial growth). Also don’t use them to clean up food leftovers on countertops and cutting boards.
Pro Tip: Microfiber towels are reusable, clean surfaces thoroughly, and can be thoroughly sanitized in a washing machine cycle.
First Thing’s First: Start Decluttering

Kitchens are typically the catch-all area for jackets, papers, toys, you name it. Before you start deep cleaning your kitchen, remove everything that doesn’t belong there. Consider gathering misplaced items in a catch-all basket and finding a home for them later.
Take It From the Top (Corner)
Not only does working your way downward keep you from soiling already-cleaned surfaces, but starting in one corner also ensures that you won’t miss a spot or surface.
First, remove items from overhead storage (above the cabinets) and wipe everything down individually. Using a multi-surface spray and a microfiber cloth, also wipe down light fixtures and ceiling fans.
Clean the Walls
This is what your vacuum attachments are for: Cobwebs and hard-to-reach overhead dust. Next, spritz a microfiber cloth with our multi-surface cleaner to make quick work of food stains, handprints, and marks from indoor traffic.
For more stubborn spots and scuffs, try a baking soda-water paste and a non-abrasive pad.
Clean Out Your Cabinets and Drawers
Empty cupboards and drawers and use your vacuum attachment to suck up dirt and crumbs. Wipe down the inside and outside of each cabinet with Puracy Natural Multi-Surface Cleaner and a clean microfiber cloth. Dry items completely before replacing them. This is a great time to toss any broken, worn out, or never-used dishes, pans, and kitchen tools.
Don't Forget to Clean Everything
As you deep clean, don't overlook areas, such as the drawer under the kitchen sink, where cleaners are usually stored, or your "junk drawer" where miscellaneous items pile up. Regular clearing out of these areas will ensure that they don't become unwieldy and lead to bigger messes later on.
Have a Kitchen Organizational System
As you’re cleaning out cupboards and drawers, be sure that when you put items back in their place, there’s a system in place to keep them organized. Labeling boxes, jars, or other containers can help you keep items in their right place.
You can also keep a basket for misplaced items to be tossed in, that will be emptied at the end of the day and returned to their correct spot. These small touches will keep you from spending countless minutes searching for that spice or spatula next time.
Check Your Pantry
While you’re going through cabinets through your cupboards and pantry shelves, tossing outdated food and noting what needs to be replenished. Consider donating items that you don’t want (but which haven’t expired) to a local food kitchen.
Wipe Down Windows Like a Pro

Getting a streak-free shine on windows, appliances, stovetops, and other surfaces doesn’t have to be hard! First wipe dirt and dust away, then use one spray of our multi-purpose cleaner for each 2 x 2 foot surface area.
Using a clean, folded, microfiber towel, apply medium pressure in an overlapping “Z” pattern. As the cleaner begins to evaporate, you’ll know you’re cleaning correctly. While you’re at it, wipe down any art on the walls, blinds, and window frames. To avoid frustration, avoid cleaning glass that’s in direct sunlight.
Pro Tip: For the cleanest window possible, a squeegee can be used before your microfiber towel. At a 30º angle from the glass surface, work your way across the window in horizontal sweeps.
The Best Way to Clean Your Fridge
We like tackling this task before our weekly shopping trip. Dispose of outdated food, take stock of what you need, and create a clean, organized space that’s ready for new groceries.
Start by completely emptying the fridge (keeping perishables cool with ice packs if necessary). Toss and/or compost spoiled food. Wipe down containers, drawers, and shelves with a food-safe cleaner and a microfiber cloth – make sure they’re dry before putting them back.

Pro Tip: To avoid streaks on stainless steel appliances, use the same “Z” technique described above for cleaning windows. A little bit goes a long way!
The Best Way to Clean Your Freezer
Cleaning your freezer 2-3 times a year prevents icy buildup and reduces unpleasant odors/tastes. No one wants ice cream to taste like frozen fish, right?
We’ve found an easier way to defrost your freezer without unplugging anything:
- Empty your freezer, storing food items in an ice-filled cooler. Place drawers and other loose parts in the sink to wash later.
- Next, put towels on the floor to catch any dripping water.
- Fill a bowl with hot water and a few drops of Natural Dish Soap. Submerge a microfiber cloth into the solution, wring it out gently, then use it to wipe down the inside of the freezer, dissolving ice and frost so you can get to stains underneath.
- Spray a microfiber cloth with Natural Multi-Surface Cleaner then wipe down the inside of the freezer (including compartments, doors, and rubber insulation along the door). Use a toothbrush to tackle the smallest areas and most stubborn stains and small areas.
- Wash removable drawers and shelves in warm, soapy water using a few drops of dish soap.
- Before replacing them, dry drawers and shelves – and the inside of the freezer – with a clean microfiber cloth.
- Replace your frozen foods.
How to Clean Your Oven With Natural Cleaning Products
Routine oven cleaning can prevent smoke and fires caused by caked-on foods and spills. Not only that: Grease and grime can also affect the flavor of your foods. The self-clean feature on your oven, however, is a surefire way to reduce the life of your oven (and can even mess up the thermometer’s calibration).
The best way to avoid a dirty oven is obviously to reduce splattering and dripping in the first place. If an accident happens, be sure to quickly remove as much grease and buildup before they cook into your oven surface. Remember to give your cleaning products enough “dwelling time” to effectively disrupt food stains.
As a last resort, use oven cleaners infrequently and with proper ventilation and protection (e.g. mask, eye protection).
How to Clean Oven Racks
For mild oven rack grime, remove the racks from the oven, place them on a towel (or other non-scratchable surface), then spray the affected area liberally with our Multi-Surface Cleaner. Let the solution sit on the stain for anywhere from a few minutes to a few hours, then wipe it off with a clean microfiber towel.
For heavier stains, create a paste of three parts baking soda to one part warm water. Use a spatula to apply the paste and let it sit for around 45-60 minutes. Use a sponge or toothbrush to gently wipe racks clean.
For more stubborn stains, try soaking your oven racks overnight in your bathtub using the following steps:
- Lay down an old towel to protect your tub from scratching.
- Put your oven racks on top of the towel and sprinkle them generously with baking soda.
- Pour vinegar over the racks and wait for the foaming to stop.
- Fill the tub with several inches of the hottest water possible, fully submerging your oven racks.
- Leave the solution overnight, then remove the water and wipe the racks with a clean microfiber cloth or a scouring pad (if needed) to loosen and remove all stuck-on food and stains.
- After drying the racks, return them back to your oven.
How to Clean Your Stovetop
Cleaning can be fun, and there’s something particularly enjoyable about restoring the gleam to stovetops.

The best way to keep your stovetop looking bright and shiny is to clean up spills as they happen. That keeps food and grease from setting in and becoming tougher to remove. No worries if you missed a few spots: There’s a natural way to target baked-on residue.
Glass Stovetops
Using a refillable glass bottle, spray white vinegar across the surface of your stovetop. Next, sprinkle baking soda evenly across the stovetop. Together, they’ll create a bubbly substance that breaks down dirt and stuck-on food with the help of a gentle glass-safe scrubber. Wipe away remaining baking soda and gunk with a clean microfiber cloth.
Finally, give the cooktop a last wipedown with a multi-surface cleaner and your glass stovetop should look as good as new!
Cleaning Metal Stovetops
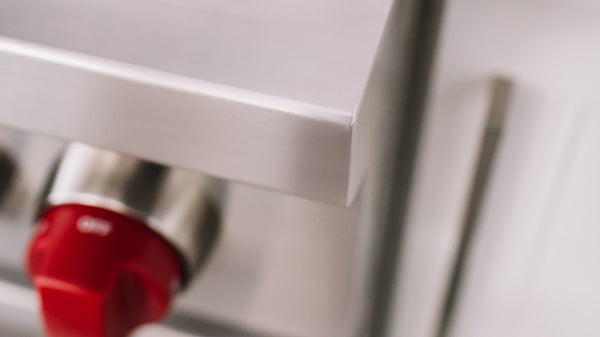
After removing burner heads and grates, wipe away loose dirt and crumbs with a wet microfiber cloth and our plant-based multi-surface cleaner. Spray the stovetop liberally, let it soak for a few minutes (to a few hours), then wipe the mess away with a clean microfiber cloth.
Cleaning Metal Coils & Drip Pans on Electric Stoves
Just like we cleaned the inside of the oven, heating up coils on high (for around three minutes) helps to burn off residue. Once they’ve cooled, pop out the coils, remove drip pans, and let the same baking soda-vinegar mixture (listed above) sit for at least 15 minutes.
For metal coils, use a toothbrush to scrub off the paste and grime. Next, wipe them down with a wet microfiber cloth and replace them when dry.
For the drip pans, gently scrub the paste away and wash the pans in a mixture of warm water and dish soap. Dry with a microfiber cloth before replacing them.
How to Clean Kitchen Countertops
To deep clean kitchen countertops, you’ll need to completely clear them off and wipe them down with a Natural Multi-Surface Cleaner (an excellent no-rinse countertop cleaner). For a sparkling shine with no streaks, use one spray for every 2’x2’ surface area, then wipe the counters down with a clean microfiber cloth using medium pressure with tight, overlapping “Z” patterns.

Next, wipe down all small appliances, storage containers, and decorative items before putting them back.
Our all-purpose spray cleans every type of countertop available, including laminate, butcher block, granite, marble, concrete, quartz, and recycled glass. Depending on the material, however, some countertops require extra upkeep (be sure to follow the manufacturer’s instructions).
How To Clean a Microwave

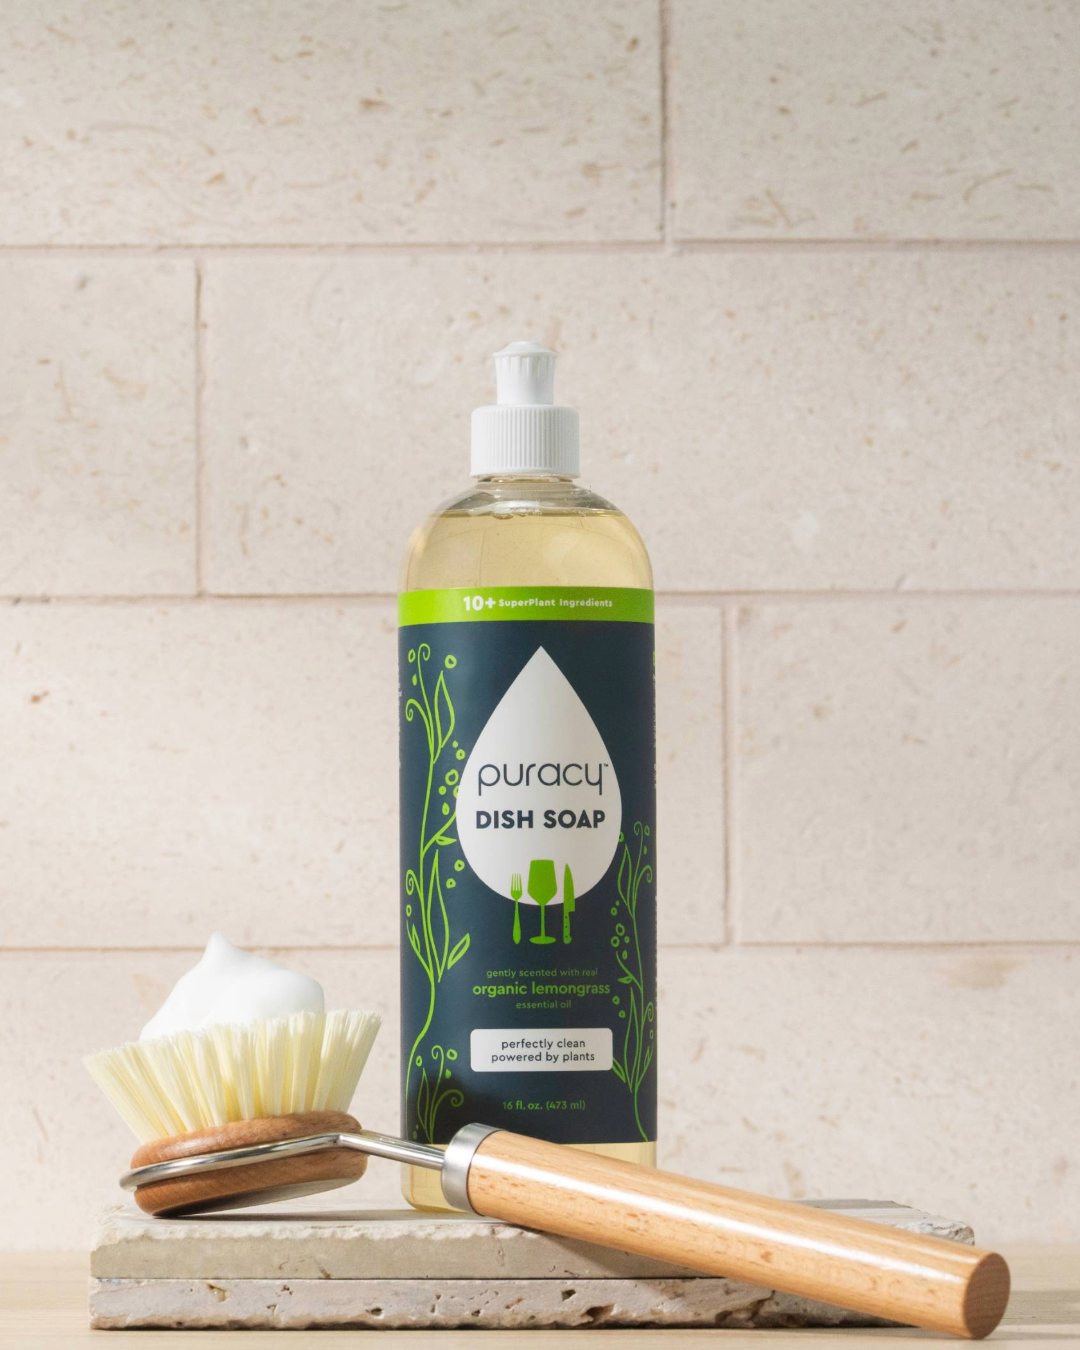
It may not seem like it, but microwaves can be full of bacteria and germs, so regular cleaning is essential. You can use our Everyday Surface Cleaner and Natural Dish Soap to wipe it down and loosen food stains.
First, take out everything in the microwave, including the turntable and plastic holder. Wash these items using our Natural Dish Soap and let them dry.
Then take a microfiber towel and wipe down the insides of the microwave. Spray with our Everyday Surface Cleaner, letting it sit for about 30 seconds before wiping. You can also do this for the exterior of the machine as well.
How to Clean Small Kitchen Appliances

For appliances such as toasters, blenders, or coffee machines, your go-to tools will come in handy, such as an old toothbrush or microfiber towel. Make sure appliances are completely unplugged and taken apart before cleaning them. With these appliances that come into frequent contact with food, it’s even more important to choose cleaners that feature natural, plant-based formulas that are safe for everyone in your family.
The Best Way to Clean a Kitchen Sink
Even the most durable sink can get dull and grimy after a few piles of dirty dishes. It might seem straightforward, but there are simple, natural techniques to get a sparkling clean kitchen sink.
Scrub away stains using Puracy Multi-Purpose Cleaner and a soft cloth or sponge (though tougher stains may require a gentle scrub brush). Rinse thoroughly with warm water. Followby wiping down your sink fixtures and drying them with a clean microfiber towel.
This works for most materials, but (as always) follow your manufacturer’s instructions to maintain your sink.
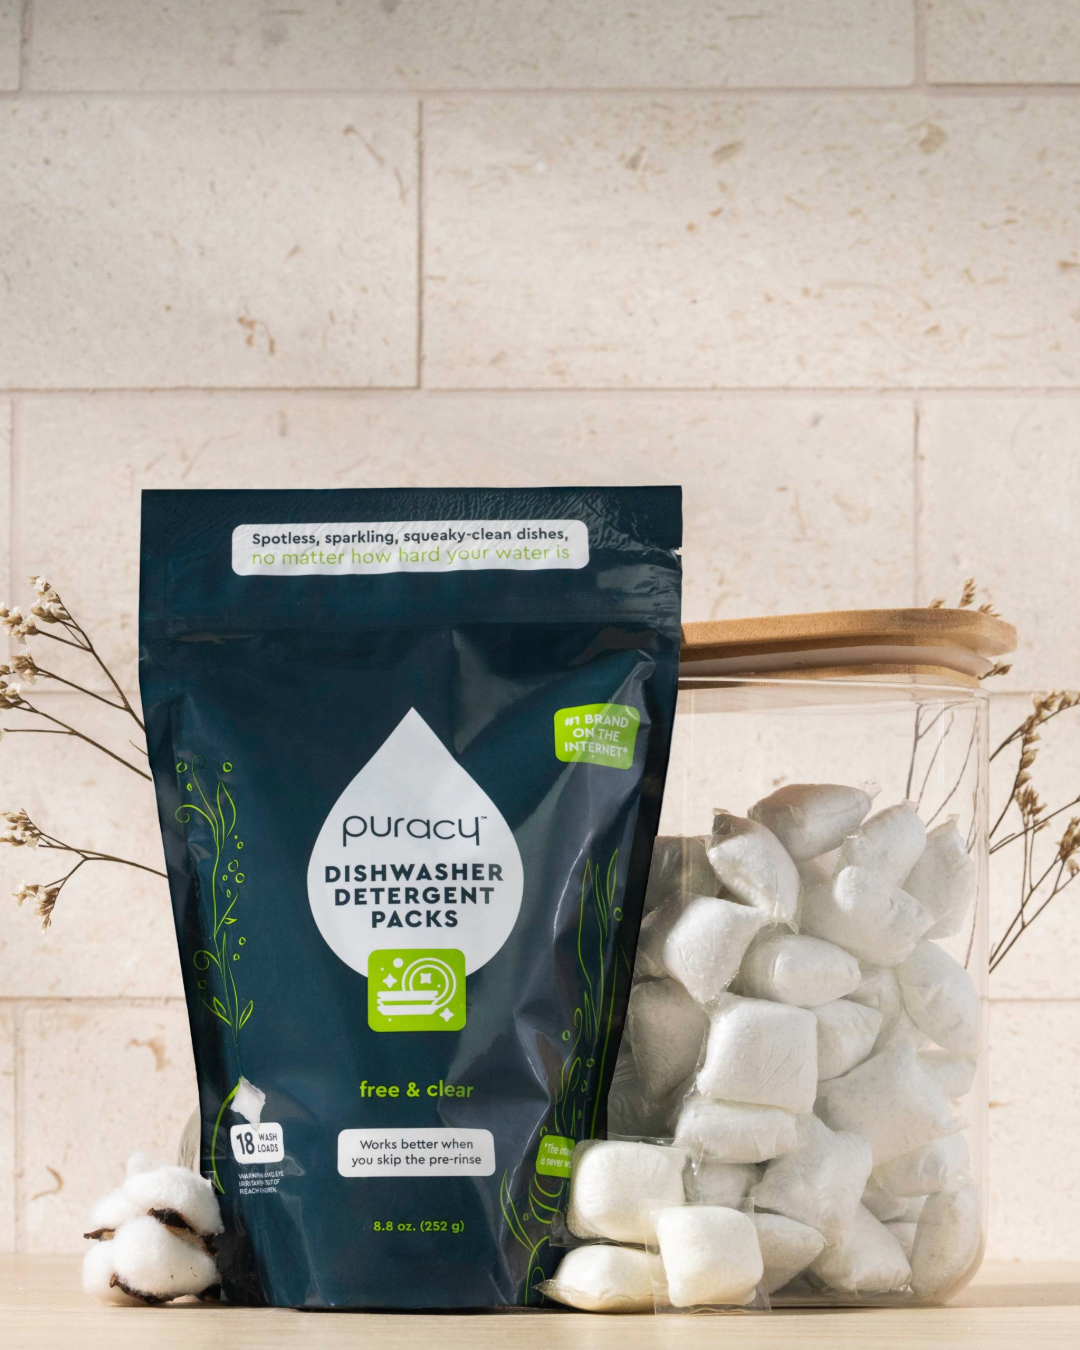
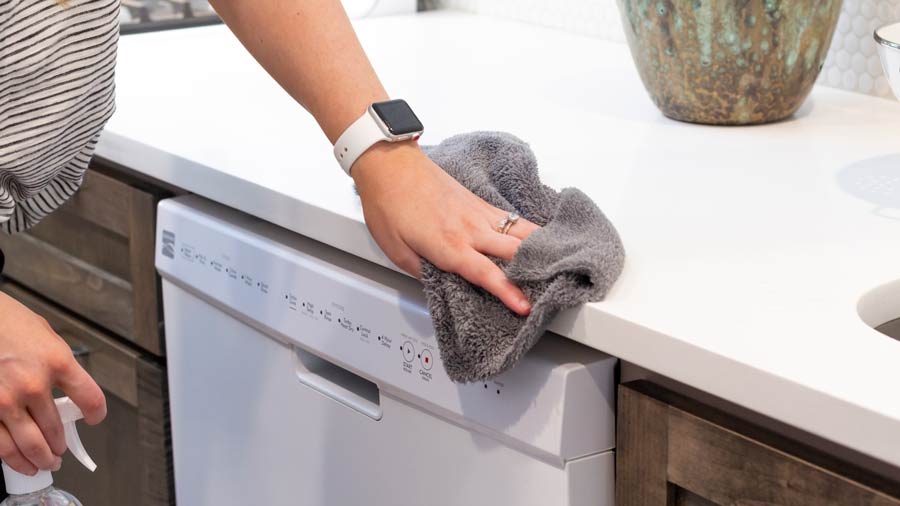
How to Clean Your Dishwasher
As food particles get trapped in the tiny parts inside your dishwasher, they begin to smell, recirculate, and block water flow. This can impact the performance of your dishwasher, leaving your dishes looking dull and dingy.

Follow these easy steps to clean your dishwasher:
- Remove the dishwasher filter. Using an old toothbrush and some dish soap, scrub to remove food and gunk. Do the same along the dishwater drain at the bottom of your machine.
- Place a cup full of white vinegar in a dishwasher-safe dish on the top rack of your machine. Run one empty cycle with hot water.
- Sprinkle baking soda along the bottom of your machine and run one more empty cycle with hot water. Say goodbye to leftover food, stains, and odors – and hello to bright and sparkling dishes!
Finally, Clean Your Kitchen Floor
Before you start, clear the space as much as possible, moving lighter items to nearby rooms. Start by sweeping or vacuuming up any loose dirt and hair.
Microfiber mops are perfect for most floors, whether they’re wood, vinyl, linoleum, or tile, and
Note: Avoid using acidic cleaners on natural stone like marble, limestone, travertine, etc. which can cause permanent etching.
Natural Cleaner for Vinyl Floors
Combine equal parts hot water and vinegar (plus a few drops of your favorite essential oil) in a mop bucket. Soak your mop in this solution. Start in one corner and work your way back around.
You don’t need to rinse this solution off, which makes this method especially quick and convenient. If your floors are extra dirty, you can always do another go-around with the vinegar solution, but we recommend doing so earlier in the morning with the windows open.
Natural Cleaner for Wood Floors
When cleaning hardwood floors, remember that different finishes use different cleaning methods, but all require a gentle touch.
For laminate, lacquered, and surface-sealed floors, a “less-is-more” approach is best. Oil-treated and penetrating seal-treated floors can be permanently damaged by water-based cleaners, so use premium liquid or paste wax instead.
6 Ways to Protect Wood Floors
- Attach self-adhesive felt pads to the bottoms of furniture to prevent scratches.
- To prevent water damage, wipe up spills quickly with a dry towel.
- Rearrange furniture every year or so to reduce uneven aging.
- Close curtains and blinds when you’re not in the room to minimize discoloration caused by direct sunlight.
- Use mats and areas rugs in high-traffic areas to reduce wear and tear.
- Consider sealing floors if the material needs to be treated more often than desired.
Replace the Old with the New

One of the final touches of your deep clean is to replace frequently used kitchen items such as sponges. (This is especially important since sponges are bacteria hot spots.) Be sure to also swap out used dish towels for clean ones, and replenish hand soap and dish soap when needed.
Also, if your kitchen trash can has a lingering stench, you can also mix some making soda with water, scrub it down, and rinse the can until the water is clear.
Everyday Kitchen Cleaning Tasks

In between your deep clean sessions, you can do small cleaning tasks every day to keep your kitchen neat and organized. At the end of each day, spray and wipe the countertops, and take care to wipe areas that get their fair share of cooking splatter, such as the stovetop and backsplash. Sweep the floor and take care of any overlooked spills from your kids or pets.
From there, you can also scrub the sink and dry it, as well as load and unload the dishwasher. After clearing away any misplaced items, you're done for the day. These small every day quick cleans will prevent you from having to deal with a disaster area next time you try to deep clean your kitchen.
For Deep Cleaning, Reach for Puracy Products

When you choose natural cleaning products for your home, you don’t have to worry about your family inadvertently touching, ingesting, or breathing in harmful substances. Plus, Puracy house essentials work perfectly with non-toxic staples (like vinegar and baking soda) that you probably already have on hand.
By following our top-to-bottom cleaning plan, you’ll have a bright and shiny kitchen – without expensive cleaners or harsh chemicals.
For more green cleaning tips, check out our related Cleaning 101 series:
Deep-Cleaning Your Bathroom


